Beranda
/ Grout A Backsplash - Unsanded Vs Sanded Tile Grout Which Should You Use / Spread the grout onto the tile by dragging the float across the tile at a 45 degree angle and along the wall at an angle.
Grout A Backsplash - Unsanded Vs Sanded Tile Grout Which Should You Use / Spread the grout onto the tile by dragging the float across the tile at a 45 degree angle and along the wall at an angle.
Insurance Gas/Electricity Loans Mortgage Attorney Lawyer Donate Conference Call Degree Credit Treatment Software Classes Recovery Trading Rehab Hosting Transfer Cord Blood Claim compensation mesothelioma mesothelioma attorney Houston car accident lawyer moreno valley can you sue a doctor for wrong diagnosis doctorate in security top online doctoral programs in business educational leadership doctoral programs online car accident doctor atlanta car accident doctor atlanta accident attorney rancho Cucamonga truck accident attorney san Antonio ONLINE BUSINESS DEGREE PROGRAMS ACCREDITED online accredited psychology degree masters degree in human resources online public administration masters degree online bitcoin merchant account bitcoin merchant services compare car insurance auto insurance troy mi seo explanation digital marketing degree floridaseo company fitness showrooms stamfordct how to work more efficiently seowordpress tips meaning of seo what is an seo what does an seo do what seo stands for best seotips google seo advice seo steps, The secure cloud-based platform for smart service delivery. Safelink is used by legal, professional and financial services to protect sensitive information, accelerate business processes and increase productivity. Use Safelink to collaborate securely with clients, colleagues and external parties. Safelink has a menu of workspace types with advanced features for dispute resolution, running deals and customised client portal creation. All data is encrypted (at rest and in transit and you retain your own encryption keys. Our titan security framework ensures your data is secure and you even have the option to choose your own data location from Channel Islands, London (UK), Dublin (EU), Australia.
Grout A Backsplash - Unsanded Vs Sanded Tile Grout Which Should You Use / Spread the grout onto the tile by dragging the float across the tile at a 45 degree angle and along the wall at an angle.. Watch as better homes and gardens shows you how to grout a backsplash! With your float held at the same angle, lightly pull it across the tile to scrape off excess grout. These grouts can be made to absorb 100 times less than cementitious grouts. Scrape off excess grout with the float after the joints are filled. Work the grout into the joints by moving the float diagonally over the tiles (photo 5).
Ten minutes after grouting, wipe the grout off the surface of the tiles with a damp sponge. For this type of neutral design, choose a grout that blends in with the color of the tile. A tile or stone backsplash may improve the appearance of the kitchen, but it also serves an important protective function. Traditionally tile grout is installed using a rubber trowel to press the grout into the joints. Learn my proven system and stop messing around with grout!
How To Grout A Tile Backsplash Like A Pro from www.mrhandyman.com Learn my proven system and stop messing around with grout! Fix it in place with construction adhesive, then easily wipe off cooking grease and splatters. This diy project cleans up your kitchen tile. Dampen the sponge and use it to lightly smooth the joints between. These grouts can be made to absorb 100 times less than cementitious grouts. Complementing grout plays off the colors in your backsplash tile. Fill a bucket with cold water. Scrape off excess grout with the float after the joints are filled.
Having a great system for grouting a job is essential to success.
Typically, grout width is simply a matter of what you prefer. That could mean blue tile and blue grout, for example. A soft gray grout can highlight the pattern of the tile, and doesn't show stains as much as white grout will. With your float held at the same angle, lightly pull it across the tile to scrape off excess grout. These grouts can be made to absorb 100 times less than cementitious grouts. This is a diy project that can certainly be completed in a weekend, but will have lasting results. When grout dries it can shrink down, which is why sanded grout tends to be the preferred option for flooring. Learn my proven system and stop messing around with grout! Depending on the size of your kitchen backsplash, you may want to break down the area into smaller sections. This allows details like tone and texture to stand out when you have a simple backsplash design. Spread the grout onto the tile by dragging the float across the tile at a 45 degree angle and along the wall at an angle. Work the grout into the joints by moving the float diagonally over the tiles (photo 5). Scrape off excess grout with the float after the joints are filled.
This is a diy project that can certainly be completed in a weekend, but will have lasting results. These grouts can be made to absorb 100 times less than cementitious grouts. When grout dries it can shrink down, which is why sanded grout tends to be the preferred option for flooring. Typically, grout width is simply a matter of what you prefer. In general, unsanded grout is great for the tiny joints in a stone backsplash application.
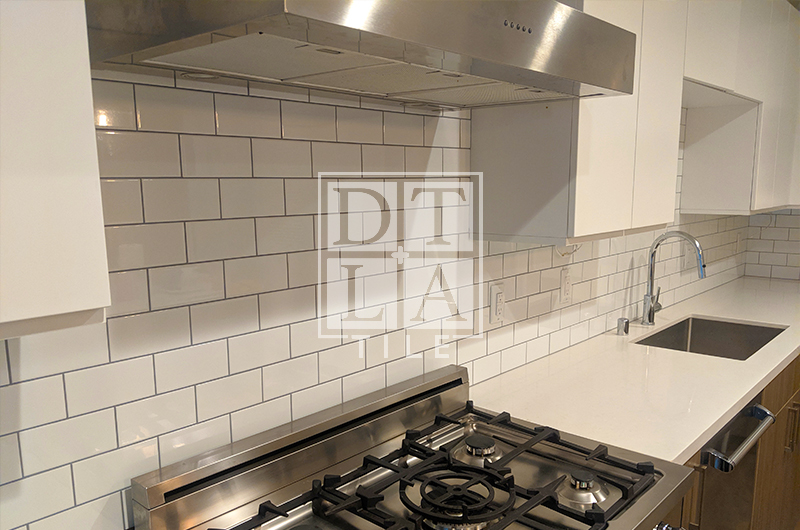
How To Apply Grout On A Backsplash from dtlatile.com Watch as better homes and gardens shows you how to grout a backsplash! Push firmly to force the grout into the spaces between tiles. You can also choose from powdered or premixed grout — the powdered form requiring you to mix it with water. This is a diy project that can certainly be completed in a weekend, but will have lasting results. The polyblend number381 bright white 1 lb. They don't stain and don't have to be sealed every year. Make sure that all the seams are completely filled with grout. For links to purchase the produ.
It also was easier to maneuver than the larger one, because backsplashes are not very large.
Contrasting grout creates a distinct difference between the tile and grout. Use a grout float to scoop up some tile grout and begin smearing it over the tiles. Work the grout into the joints by moving the float diagonally over the tiles (photo 5). To apply your mixture, spread the grout over your backsplash tile using your float. This diy project cleans up your kitchen tile. Push firmly to force the grout into the spaces between tiles. Fill a bucket with cold water. Dampen the sponge and use it to lightly smooth the joints between. Grout is available as sanded or unsanded.choose the correct type of grout based on the width of your tile joints and where the repair is being done. Holding a grout float at an angle, apply the grout in between the tiles in an upwards motion. That could mean blue tile and blue grout, for example. A tile or stone backsplash may improve the appearance of the kitchen, but it also serves an important protective function. A backsplash, especially behind a sink, i would categorize as limited water exposure (not wet, but not dry either).
Fix it in place with construction adhesive, then easily wipe off cooking grease and splatters. Make sure that all the seams are completely filled with grout. When filling the gaps between your kitchen backsplash tiles, you will need to use either sanded or unsanded grout. When grout dries it can shrink down, which is why sanded grout tends to be the preferred option for flooring. Do not use warm water as this causes the grout to harden abnormally fast, which can cause cracking.
How To Grout A Tile Backsplash Like A Pro Mosaic Backsplash Kitchen Backsplash Grouting Backsplash from i.pinimg.com To apply your mixture, spread the grout over your backsplash tile using your float. Spread the grout onto the tile by dragging the float across the tile at a 45 degree angle and along the wall at an angle. Measure the space between the tiles. A tile or stone backsplash may improve the appearance of the kitchen, but it also serves an important protective function. Return the excess to the container. This comes with assembled dimension of 4.25 in. This could be black tile and white grout, for example. Grout is available as sanded or unsanded.choose the correct type of grout based on the width of your tile joints and where the repair is being done.
Make sure that all the seams are completely filled with grout.
Contrasting grout creates a distinct difference between the tile and grout. Spread the grout onto the tile by dragging the float across the tile at a 45 degree angle and along the wall at an angle. This is a diy project that can certainly be completed in a weekend, but will have lasting results. They don't stain and don't have to be sealed every year. With your float held at the same angle, lightly pull it across the tile to scrape off excess grout. Comb over it with a notched trowel. When filling the gaps between your kitchen backsplash tiles, you will need to use either sanded or unsanded grout. When grouting the backsplash tiles, leave the gap between the granite and the tiles empty. This allows details like tone and texture to stand out when you have a simple backsplash design. For that reason, i would lean toward using an epoxy or urethane grout for the backsplash. Having a great system for grouting a job is essential to success. Typically, grout width is simply a matter of what you prefer. After installing the tile wall on your k.